How to Crochet Magnolia Lace Stitch [Video + Written Pattern]
Super easy, beautiful, and versatile – that’s what I love about Magnolia Lace Stitch! This technique combines shells with lace in the most delicate way. The best thing, though? It uses ONLY chains and double crochets! Can you believe it?
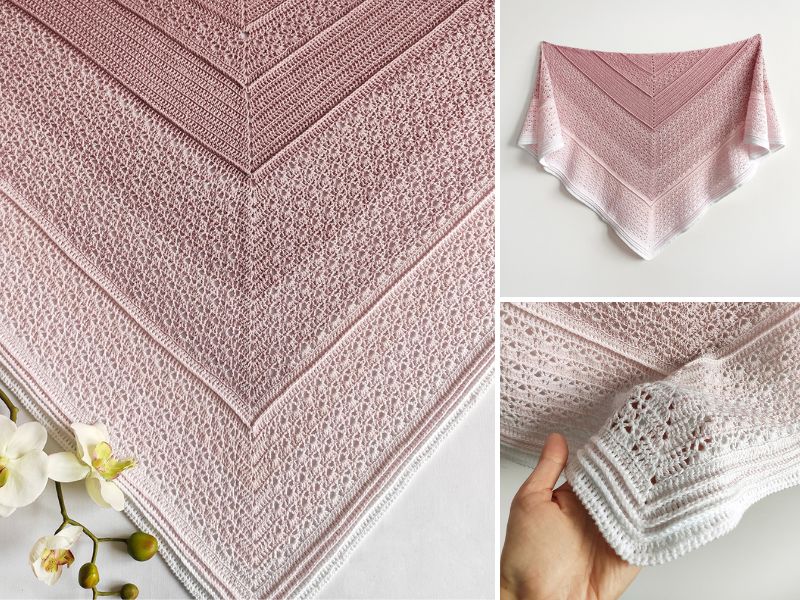
This stitch is a crucial part of the Magnolia Lace Shawl, which is available for free on yourcrochet.com. In the original project, it was used in a triangular shawl – I adapted it to a simple row-by-row pattern. This way you can easily use it in your own designs!
In this article, you will find everything you need to learn this stitch – two video tutorials, a written pattern with a photo tutorial, and a diagram. What’s more, I created three unique colorways for you to use with this stitch 👑
Video Tutorials
Let me lead you step by step through the whole process, whether you use your right or left hand to crochet.
Video for Right-Handed Crocheters
Video for Left-Handed Crocheters
If you like this video, please subscribe to my channel on YouTube, so that you won’t miss any tutorials!
Magnolia Lace Shawl Free Pattern
This stitch is the main motif of my free crochet pattern design, available on YourCrochet.com.
Unique Colorways
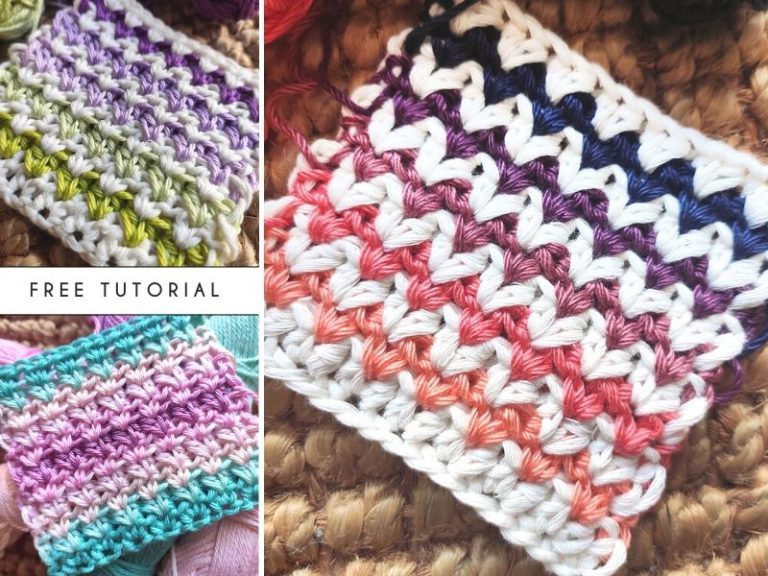
I created 3 unique colorways, using Scheepjes Catona yarn and a 3 mm crochet hook. Which one is your favorite? Let me know in the comments!
Pastel Bouquet
Colors used (top to bottom): 505 Linen, 074 Mercury, 402 Silver Green, 528 Silver Blue, 520 Lavender, 398 Colonial Rose, 523 Sweet Mandarin, 238 Powder Pink.

Fiery Autumn
Colors used (top to bottom): 249 Saffron, 383 Ginger Gold, 504 Brick Red, 516 Candy Apple, 192 Scarlet, 517 Ruby, 128 Tyrian Purple, 394 Shadow Purple.

Fresh Start
colors used (top to bottom): 245 Green Yellow, 515 Emerald, 384 Powder Blue, 261 Capri Blue.

To practice, start with one color of yarn, but I recommend you go for at least two colors and change them up every two rows. To learn how to change colors, please watch my video tutorial, or read this article – How to Change Colors in Crochet.
Great, you are ready, so let’s start!
How to Crochet Magnolia Lace Stitch
Pattern Notes
Skill Level
beginner
Terms
standard US
Materials and Tools
- you can use any yarn and recommended hook size
- for these samples, I used Scheepjes Catona and a 3 mm hook
Abbreviations
- chain (ch)
- double crochet (dc)
- chain space (ch-sp)
- stitch (st)

Diagram
A diagram is a visual representation of the pattern, where symbols represent stitches. Learn How to Read Crochet Diagrams with my step-by-step tutorial.
The colors of this diagram show you how the stitch is structured:
– half-shells and edge stitches are marked blue
– the main motif in alternating parts is marked pink and green

Written Pattern
START
Chain multiple of 6.
Row 1
Chain 3, 1 dc into the 6th stitch, chain 3, 1 dc into the same stitch, [skip 2, 1 dc, skip 2, *1 dc, 3 ch, 1 dc* in one st] repeat until you reach the last 3 stitches: skip 2, 1 dc.

Row 2
Chain 3, *4 dc into the chain space, 1 dc in the dc from the previous row* repeat until the end of the row. Your last dc should be worked into the top of the turning chain from row 1.

Row 3
Chain 4, 1 dc in the chain space, 1 dc between 3rd and 4th dc from the previous row, [*1 dc, 3 ch, 1 dc* in the “single” dc of the previous row, 1 dc between 2nd and 3rd dc of the prior row] repeat until you reach the last chain space and work *1 dc, 1 ch, 1 dc* there (or in the top stitch of the turning chain).

Row 4
Chain 3, 2 dc into the nearest chain space, 1 dc in the “single” dc of the previous row, [*4 dc into the chain space, 1 dc in the “single” dc of the previous row] repeat until you reach the last chain space and work 3 dc there (or work the last dc in the top stitch of the turning chain).
Row 5
Chain 3, [*1 dc, 3 ch, 1 dc* all in the “single” dc of the previous row, 1 dc between 2nd and 3rd dc of the previous row*] repeat until the end of the row, your last stitch is 1 dc.
Repeat rows 2-5.

Use this stitch in whatever project you want, or make some sweet colorful swatches.

Share, like, subscribe!
If you happen to make this project, I would love to see it, so don’t hesitate to contact me! Please feel free to share the results with us in the comments or on social media. Of course, if you find any mistakes in the pattern or find it hard to understand, please let me know, so I can learn and improve!
Sharing is caring, so if you liked this project, be sure to share it with your friends and spread the word, because I really appreciate it! For more free tutorials, patterns, and interesting articles – follow my social media pages and allow notifications to get a pop-up whenever a new post is published.