Noelle Crochet Snowflake Ornament [Free Crochet Pattern + Video]
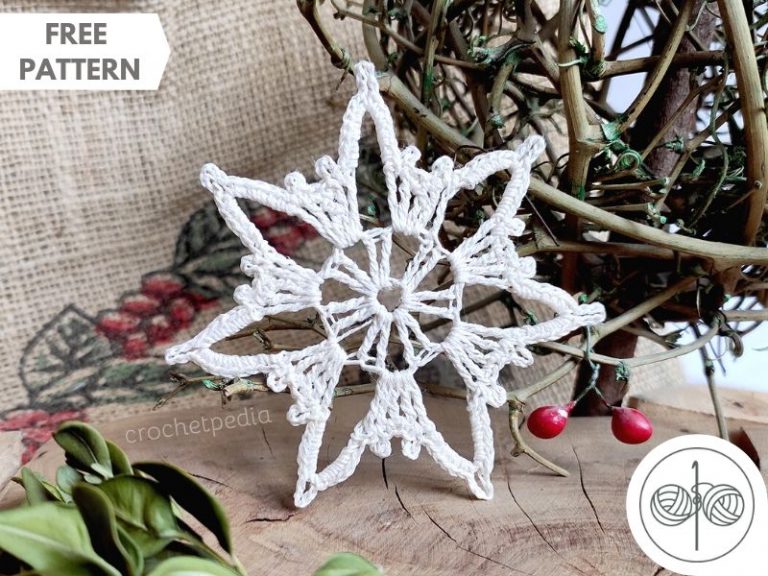
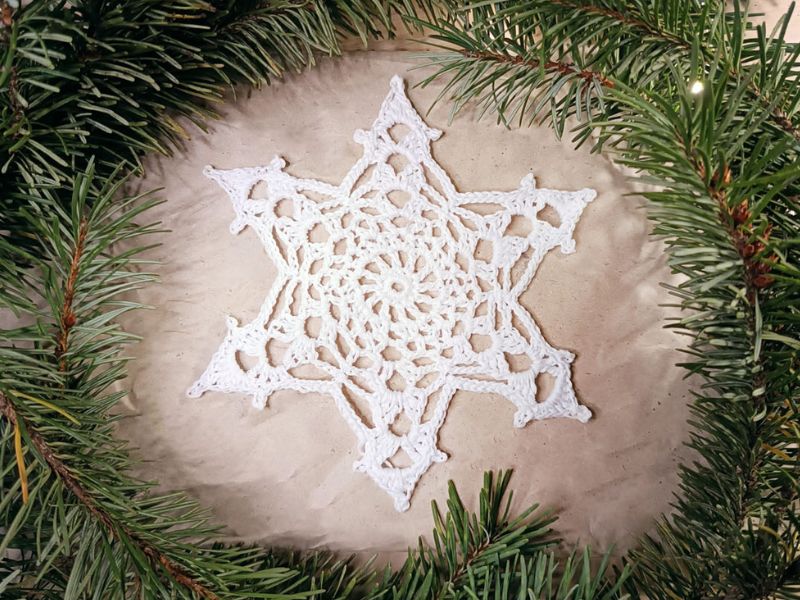
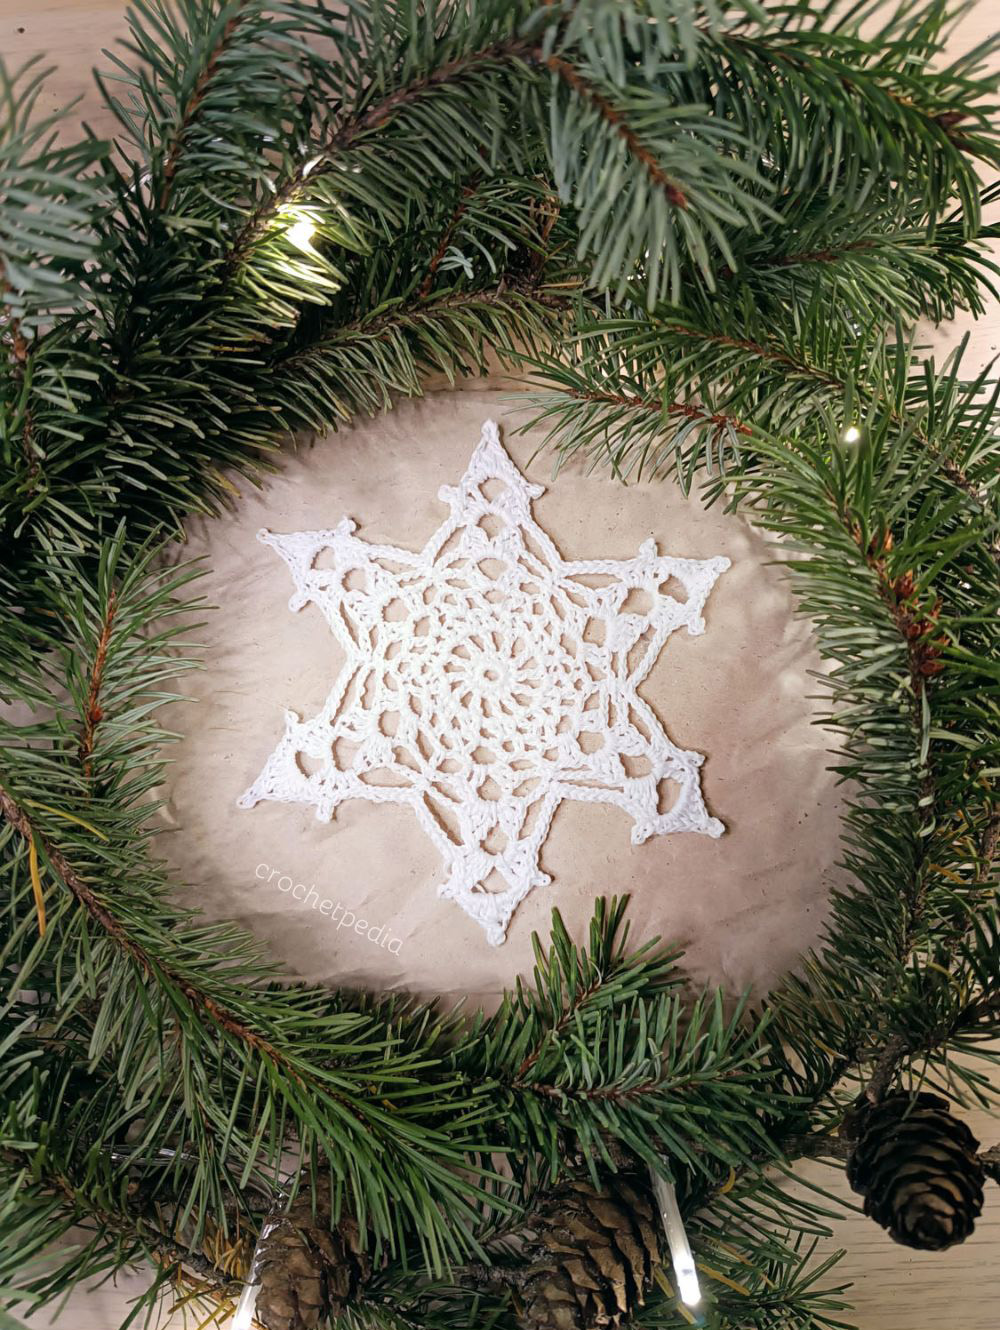
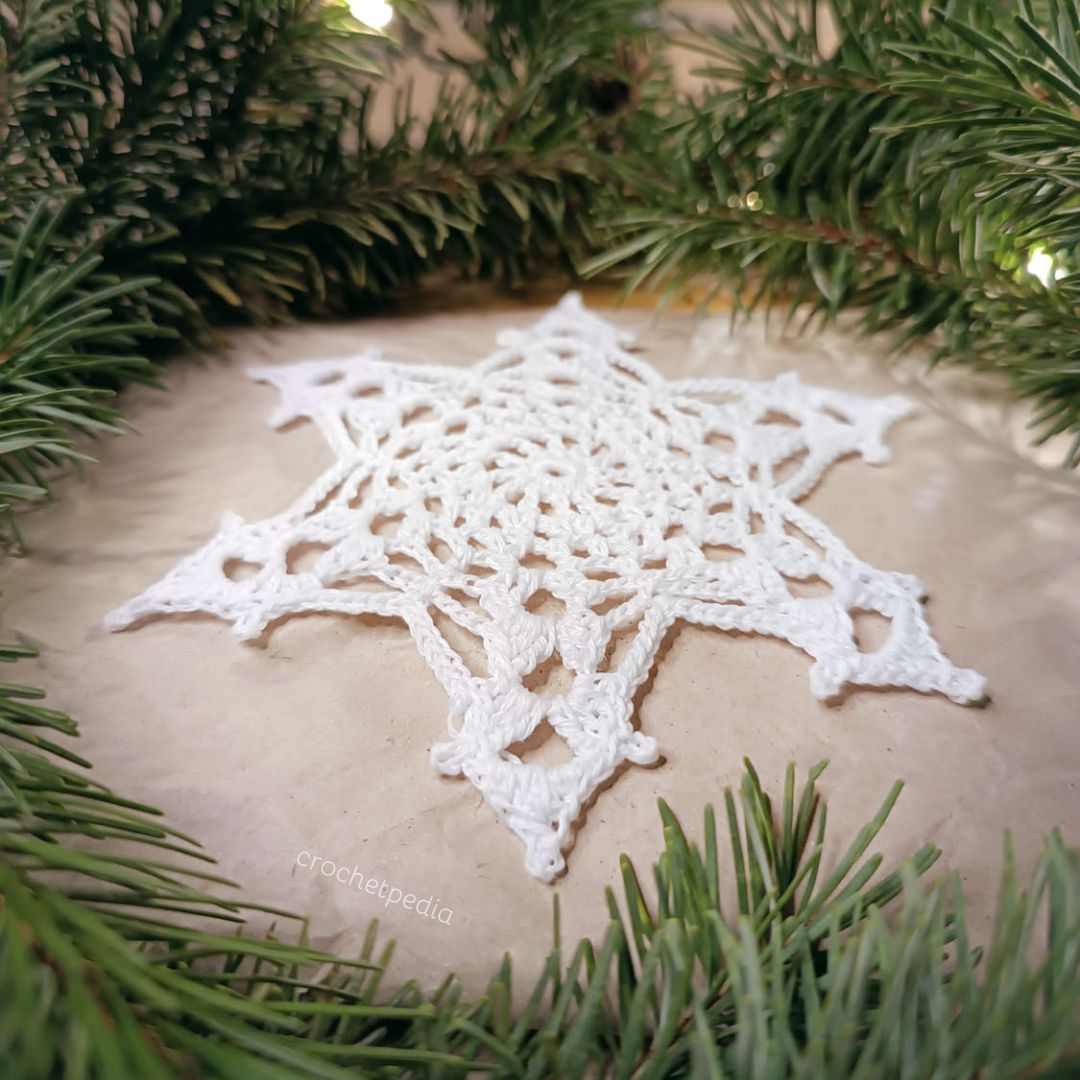
Welcome to the last part of the snowflake mini CAL! The last design of the series is quite a strange one, with lots of lacy eyelets and dramatic spiky arms.
Beginners will practice working with chains and basic stitches while making this crochet snowflake. It requires patience and focus but doesn’t include any advanced techniques.
Thank you for taking part in my wintery crochet-along! Subscribe to my newsletter to get notified first about future projects and free patterns.
Free Crochet Video Tutorials
Learn with me step by step!
Video tutorial for right-handed crocheters
Video tutorial for left-handed crocheters
How to Block Crochet Ornaments
…be sure to see my video about how I block and stiffen my crochet ornaments:
Below you will find links to the next parts of this CAL, which is and will remain free, so you will always have the chance to make it. They will be published every Tuesday in November 2020. Start now, so that you are ready before Christmas!
DISCOVER THE REST OF THE PATTERNS
- INTRODUCTION – general info, links, FAQ
- 1 November 2023 / Part 1 – Alba Snowflake
- 8 November 2023 / Part 2 – Blanche Snowflake
- 15 November 2023 / Part 3 – Eira Snowflake
- 22 November 2023 / Part 4 – Neve Snowflake
- 29 November 2023 / Part 5 – Ember Snowflake
- 6 December 2023 / Part 6 – Aspen Snowflake
- 13 December 2023 / Part 7 – Noelle Snowflake – you are here!
Pattern Notes
Skill Level
- beginner
Terms
- standard US
Techniques and Abbreviations
- magic ring
- chain (ch)
- slip stitch (sl st)
- single crochet (sc)
- double crochet (dc)
- treble crochet (tr)
- picot
- chain space (ch-sp)
Materials and Tools
- yarn: 100% cotton thread – I used an unpopular Polish one, but something like Scheepjes Maxi Sugar Rush should be okay, too!
- crochet hook 1.5 mm
- scissors
Measurements
- 11,5 cm (4,53″)
Remember that your yarn weight of choice, hook size, and crocheting style can affect the final size of the ornament. Blocking and stiffening are crucial to make it look good.
START
magic ring (click for the tutorial)
ROUND 1
12 sc into the loop, sl st.
ROUND 2
5 ch, *1 dc, 2 ch* x11, sl st (you should end up with 12 chain spaces)
ROUND 3
4 ch, 1 hdc into the loop, *1 hdc, 2 ch, 1 hdc* in each next ch-sp, sl st
In this round we are working only in the big chain spaces:
ROUND 4
6 ch, 1 dc into the nearest ch-sp, [*1 hdc, 2 ch, 1 hdc* in one ch-sp, *1 dc, 3 ch, 1 dc* in the next ch-sp] x 5, *1 hdc, 2 ch, 1 hdc* in the last ch-sp, sl st.
ROUND 5
3 ch, *1 dc, 5 ch, 2 dc* into the nearest loop, 2 ch, 1 hdc in the small loop, 2 ch, [*2 dc, 2 ch, 2 dc* in the bigger loop, 2 ch, 1 hdc in the smaller loop, 2 ch] x 5, sl st in the third chain stitch.
ROUND 6
2 sl st (one in the stitch, one in the loop), 2 ch, *1 dc, 1 tr, 5 ch, 1 tr, 1 dc, 1 hdc* all in one loop, 4 ch, 1 sl st in the hdc from the previous row, 4 ch, [*1 hdc, 1 dc, 1 tr, 5 ch, 1 tr, 1 dc, 1 hdc* all in one loop, 4 ch, 1 sl st in the hdc from the previous row, 4 ch] x 5, sl st in the second chain of the turning chain.
ROUND 7
3 sl st (2 in the stitches, one in the loop), 2 ch, *1 hdc, 1 dc, 1 tr, 4 ch, 1 tr, 1 dc, 2 hdc* all in one loop, 6 ch, 1 sl st in the hdc from the previous row, 6 ch, [*2 hdc, 1 dc, 1 tr, 4 ch, 1 tr, 1 dc, 2 hdc* all in one loop, 6 ch, 1 sl st in the sl st from the previous row, 6 ch] x 5, sl st in the second chain of the turning chain.
ROUND 8
3 sl st (2 in the stitches, one in the loop), 1 picot (meaning: 3 ch, 1 sl st in the first ch), *2 sc, 1 hdc, 1 dc, 1 tr, 1 picot, 1 tr, 1 dc, 1 hdc, 2 sc* all in one big loop at the top of the arm, 1 picot, 3 sl st, 6 sc, 1 sl st (in the sl st of the previous row), 6 sc,
repeat for the rest of the round:
[3 sl st, 1 picot, *2 sc, 1 hdc, 1 dc, 1 tr, picot, 1 tr, 1 dc, 1 hdc, 2 sc* all in the big loop, 1 picot, 3 sl st, 6 sc in the ch-sp, 1 sl st (in the sl st of the previous row), 6 sc in the ch-sp] x 5, sl st.
Fasten off, secure the yarn, and don’t forget to block and stiffen your snowflakes.
YOU ARE DONE!

You may also like these free patterns:
- How To Crochet Granny Stripe Stitch
- How to Crochet Alpine Stitch
- Calm Cove Square
- Lake Midnight Shawl
- Lake Sunset Shawl
Share, like, and subscribe!
If you happen to make this project, I would love to see it, so don’t hesitate to contact me! Please feel free to share the results with us in the comments or on social media. Of course, if you find any mistakes in the pattern or find it hard to understand, please let me know, so I can learn and improve!
Sharing is caring, so if you liked this project, be sure to share it with your friends and spread the word, because I really appreciate it! For more free tutorials, patterns, and interesting articles – follow my social media pages and allow notifications to get a pop-up whenever a new post is published.